You're launching in three weeks. The product's at the warehouse, the budget's allocated, and now you need creatives that don't waste the launch window. Get this wrong and you burn your honeymoon period — those first weeks where Amazon gives a new listing a ranking boost and watches how it performs.
"Launching in 3 weeks, need creatives."
The trigger — and the clock is the problemA new launch lives or dies on the listing before the first review ever lands. No review history means buyers judge entirely on images, price, and A+ — and the algorithm judges on the CTR and CVR those produce. This is the complete checklist: what to build, in what order, to the specs that actually convert.
Why the Launch Window Is Make-or-Break
A new listing gets a temporary visibility boost — Amazon surfaces it to gather performance data. Your CTR and CVR during those first weeks set the trajectory:
- Strong CTR/CVR out of the gate → Amazon reads demand → ranks you up → the launch compounds.
- Weak CTR/CVR → Amazon reads no demand → buries the listing → you spend months and PPC budget digging out.
You don't get a second honeymoon. A listing that launches with weak images doesn't "fix itself later" — it starts behind and stays behind, because early weak velocity trains the algorithm before you've had a chance to prove the product. The images aren't a finishing touch on the launch. They are the launch.
The cost of a wasted launch window is far higher than the cost of doing the creatives right the first time. Build to convert from day one.
The Pre-Launch Checklist (Do This Before Any Design Starts)
Skip this and your designer builds blind. Lock these first:
- Niche + top-3 competitor teardown. Pull the listings ranking above where you want to be. Screenshot their main images and infographics. Your job is to out-convert them, which means knowing exactly what they do.
- Top buyer objections. List the 5–7 doubts that stop a purchase in your category (scale, compatibility, durability, "is it worth it," what's included). Each becomes an image.
- Target keywords + buyer intent. Your money keywords and the use cases behind them. These drive what your images need to show, not just say — critical under COSMO, which reads images for intent.
- Brand Registry status. A+ Content and Brand Store require it. If it's not done, start it now — it gates half this checklist.
- Mobile-first mandate. 80% of buyers are on a phone. Every asset gets QA'd at thumbnail/mobile size before it ships.
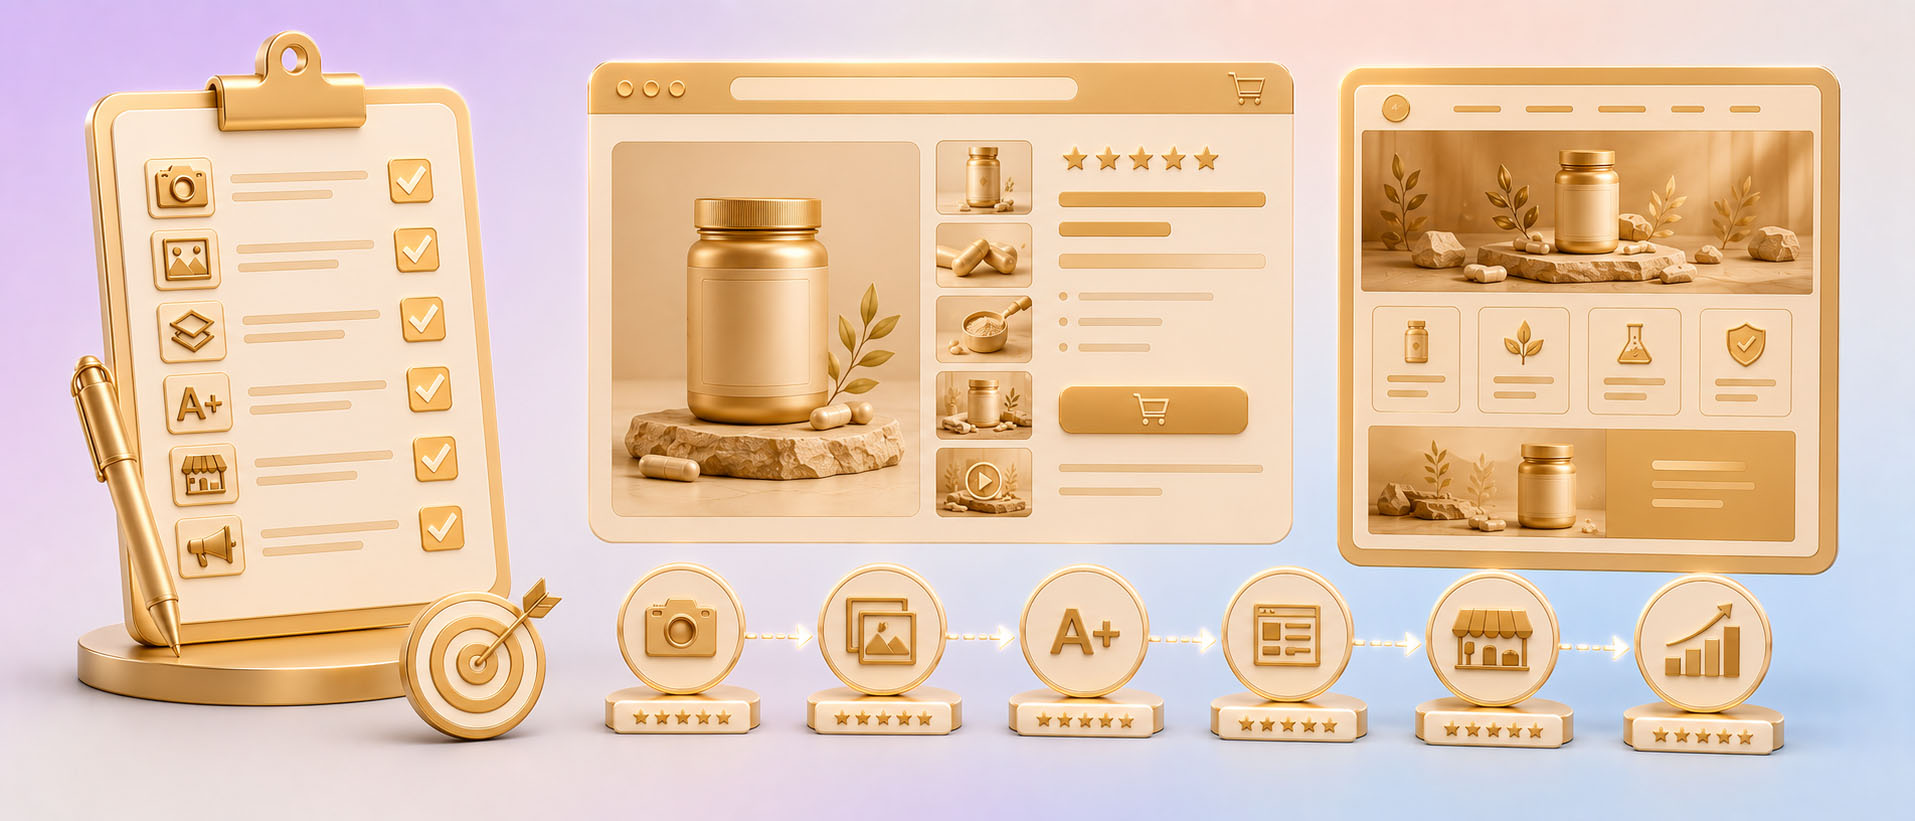
Part 1 — Main Image (The CTR Engine)
This single image decides whether anyone clicks. Checklist:
- Pure white background (RGB 255/255/255) — TOS-mandatory, no exceptions
- Product fills 85%+ of the frame
- Zero text, logos, badges, or watermarks (instant suppression triggers)
- No props, models, or lifestyle (banned on main for most categories)
- 1600×1600 px minimum, 2000×2000 px target (enables zoom)
- Reads instantly at thumbnail size on a phone — one clear focal point
- Signals "real brand," not no-name, through visible product branding and finish
- Differentiates from the competitor tiles you screenshotted
"Amazon suppressed my main image because it had text overlay. Lost 2 weeks of sales."
Amazon seller forumOn a launch, a suppression doesn't cost you two weeks of sales — it costs you the launch window entirely. TOS compliance on the main is non-negotiable.
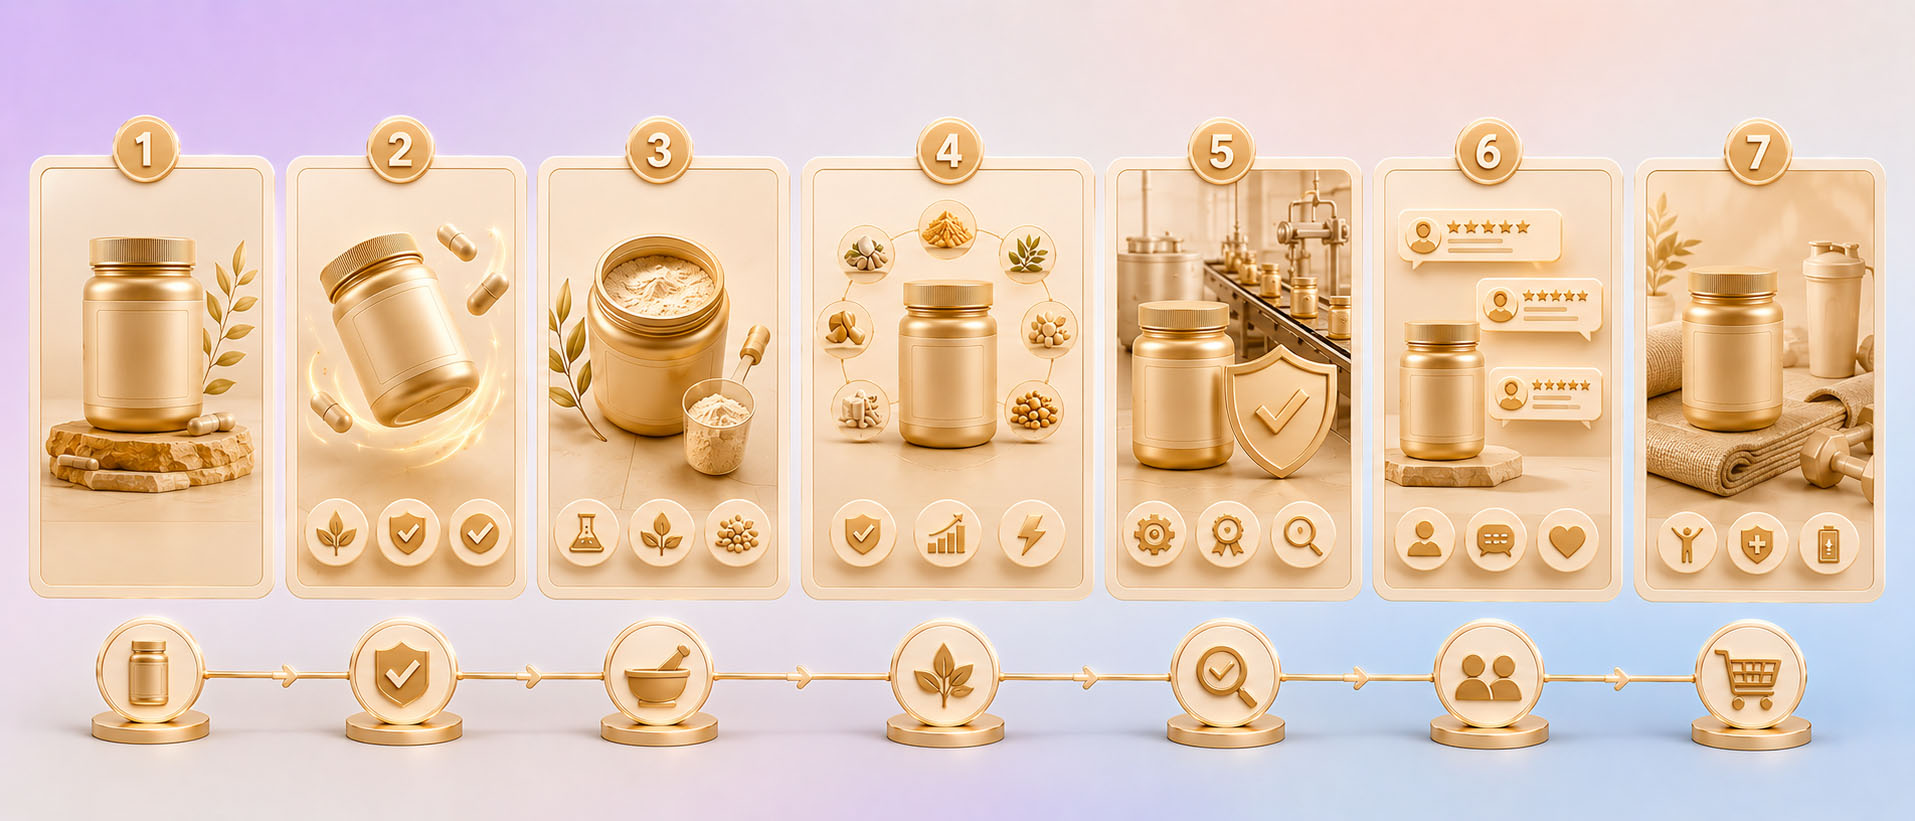
Part 2 — The 7-Image Set (The CVR Engine)
Each slot does a conversion job. "Product from 7 angles" is how launches underperform. Build this structure:
- Image 1 — Main: clean product on white (see above).
- Image 2 — Hero benefit: the #1 reason to buy, shown visually. Lead with the outcome.
- Image 3 — Scale/dimensions: product against a hand, standard object, or real environment. Kills the #1 bounce-and-return driver.
- Image 4 — How it works / what's included: defuse "will I understand it" and "what's in the box."
- Image 5 — Comparison infographic: your build/capacity/lifespan vs the generic version (no named competitors — TOS).
- Image 6 — Use case / who it's for: the specific buyer and context ("for dogs 40–80 lbs," "fits standard cup holders").
- Image 7 — Trust cue: warranty, certifications, guarantee, or an established-brand signal.
Every image answers a specific objection in swipe order. On a no-review launch, these images are your social proof — they have to carry the conviction that reviews will later provide.
Part 3 — A+ Content (The CVR Multiplier)
Requires Brand Registry. A+ lifts CVR 8–15% on average — but only when it does conversion work, not branding work:
- Comparison chart module — your product vs the category's value tier. Buyers convert on comparison tables.
- Use-case modules — buyer-intent scenarios, not mission statements.
- Scale/feature module — reinforce dimensions and key specs visually.
- Cross-sell module — point to other SKUs/variants to lift AOV from day one.
- Mobile-QA'd — A+ modules that break on mobile cost you the 80%.
Skip the founder poetry. On launch, A+ is a conversion tool that compensates for the trust you haven't earned yet.
Part 4 — Brand Store (The Defensive + PPC Asset)
Requires Brand Registry. Optional only if you're not running Sponsored Brand ads — and on a launch, you should be:
- Home page with clear category navigation
- Product/category pages for your line
- Consistent visual system across SKUs (matters for line expansion later)
- Sponsored Brand ads pointed at the Store, not a single PDP
Sponsored Brand traffic to a Store costs less per click and converts at 2–3× the rate of ads driving to one product page. On a launch with a PPC budget, a Brand Store is how you spend that budget efficiently from day one instead of burning it on single-PDP clicks.
The Launch Timeline (3 Weeks, Reverse-Engineered)
Working backward from go-live:
Competitor teardown, objection list, keyword/intent map. Build and PickFu-test the main image against the top 2 competitors. Lock it before building the rest — the main sets the visual direction for the set.
Build images 2–7 against the objection list. Build A+ modules. QA everything at mobile size before advancing.
Build the Store, upload all assets, verify rendering on mobile in a live preview, set up PPC pointed at the Store. Go live with 2–3 days of buffer for any TOS re-screen issues.
The One Mistake That Wastes the Launch Budget
"Hired someone on Fiverr for $80. The images looked nice but my conversion actually dropped."
Amazon seller forumOn an established listing, a weak Fiverr set costs you incremental sales. On a launch, it costs you the window — and you don't get it back. The generalist makes nice images that don't convert, or worse, adds a non-compliant element that suppresses the listing in week one and torches your visibility boost.
Here's the launch math: a listing that converts at 13% instead of 8% during the honeymoon period banks 60% more early velocity, which sets a higher ranking trajectory for the entire product lifecycle. A full launch package ($1,200–$2,500 from a specialist) pays back inside the first few weeks and compounds for years through the rank position it establishes. The cheap option doesn't just underperform — it forfeits the one window you can't rebuy.
The Quick-Reference Launch Checklist
- Competitor teardown + objection list + keyword/intent map
- Brand Registry confirmed
- Main image: TOS-compliant, mobile-first, PickFu-tested
- 7-image set: each slot maps to a buyer objection
- A+ Content: comparison + use-case + cross-sell modules
- Brand Store: built, with Sponsored Brand ads pointed at it
- Everything QA'd at mobile/thumbnail size
- PPC campaigns ready to launch with the listing
- 2–3 day buffer before go-live for TOS re-screen
FAQ
- What should be on an Amazon product launch listing checklist?
- A complete launch checklist covers: pre-launch research (competitor teardown, buyer-objection list, keyword/intent map, Brand Registry), a TOS-compliant mobile-first main image, a 7-image set where each slot defuses a specific objection, conversion-focused A+ Content (comparison, use-case, cross-sell modules), and a Brand Store with Sponsored Brand ads pointed at it — all QA'd at mobile size before go-live.
- Why are listing images so important for a new Amazon launch?
- A new listing has no review history, so buyers judge entirely on images, price, and A+ Content, and the algorithm judges the CTR and CVR those produce. Strong early CTR/CVR during the launch visibility window sets a higher ranking trajectory for the product's whole lifecycle; weak images waste a window you can't rebuy.
- Do I need A+ Content and a Brand Store for a launch?
- Both require Brand Registry. A+ Content is strongly recommended — it lifts CVR 8–15% on average and compensates for the trust you haven't earned without reviews. A Brand Store is recommended whenever you're running Sponsored Brand ads, because Store-directed traffic costs less per click and converts at 2–3× the rate of single-product-page ads.
- How long does it take to prepare Amazon launch creatives?
- A focused 3-week timeline works: week 1 for research and the PickFu-tested main image, week 2 for the 7-image set and A+ Content, week 3 for the Brand Store, upload, mobile QA, and PPC setup — with a 2–3 day buffer before go-live for any TOS re-screen.
- What's the most common launch listing mistake?
- Using cheap, generic creatives that look nice but don't convert — or that include a TOS-violating element (text on the main image, non-white background) that suppresses the listing in week one and burns the launch visibility boost. On a launch, this forfeits a window that can't be repurchased, unlike on an established listing where it only costs incremental sales.
Don't gamble the launch window on guesswork. Get your first image free.
Send your ASIN (or product photos pre-launch) — we'll build your main image at no cost: TOS-compliant, mobile-first, tested against your top competitors. You see it before you commit to the full set. If it doesn't beat the benchmark in a PickFu A/B, you owe nothing — and you'll know exactly how the same approach carries through your 7-image set, A+, and Store.
Claim my free image →